Published
- 3 min read
SEO Express: Get Your Website Google-Indexed in 48 Hours

Photo by Domenico Loia on Unsplash
Ever since I launched my blog, I have often encountered the same indexing problem with Google - it takes far too long for my newly published posts to be indexed, and I have to manually submit them using a URL inspection tool - which is tedious and annoying. Until recently, I found this Google Indexing Script on GitHub and use this script to submit new links to Google and get them indexed, and the problem has just been solved.
In this blog, I will walk you through all the technical settings of this lightweight yet powerful tool and end up getting your site indexed in Google within 48 hours.
🔗 Google Account Preparation
Register a Google Cloud account
Enable Google Search API here.
Enable Web Search Indexing API here.
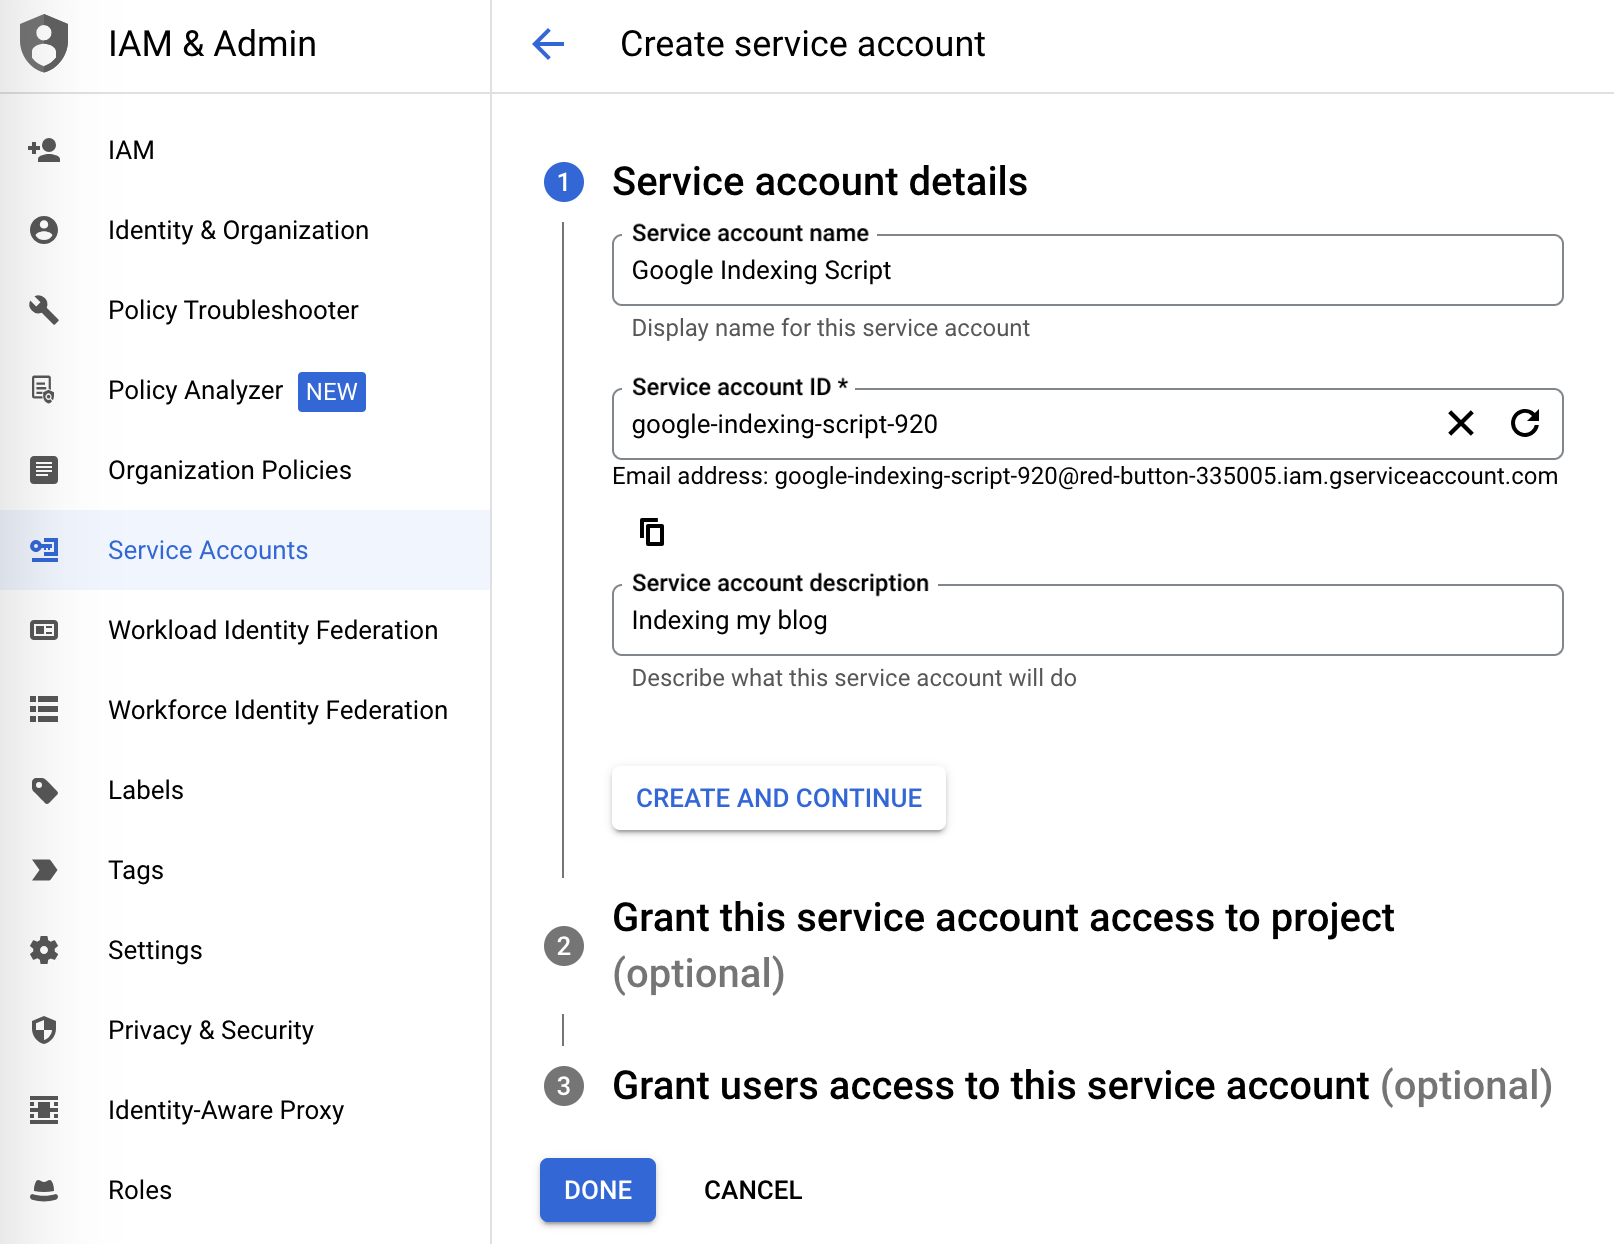
Create a service account
Create a service account here
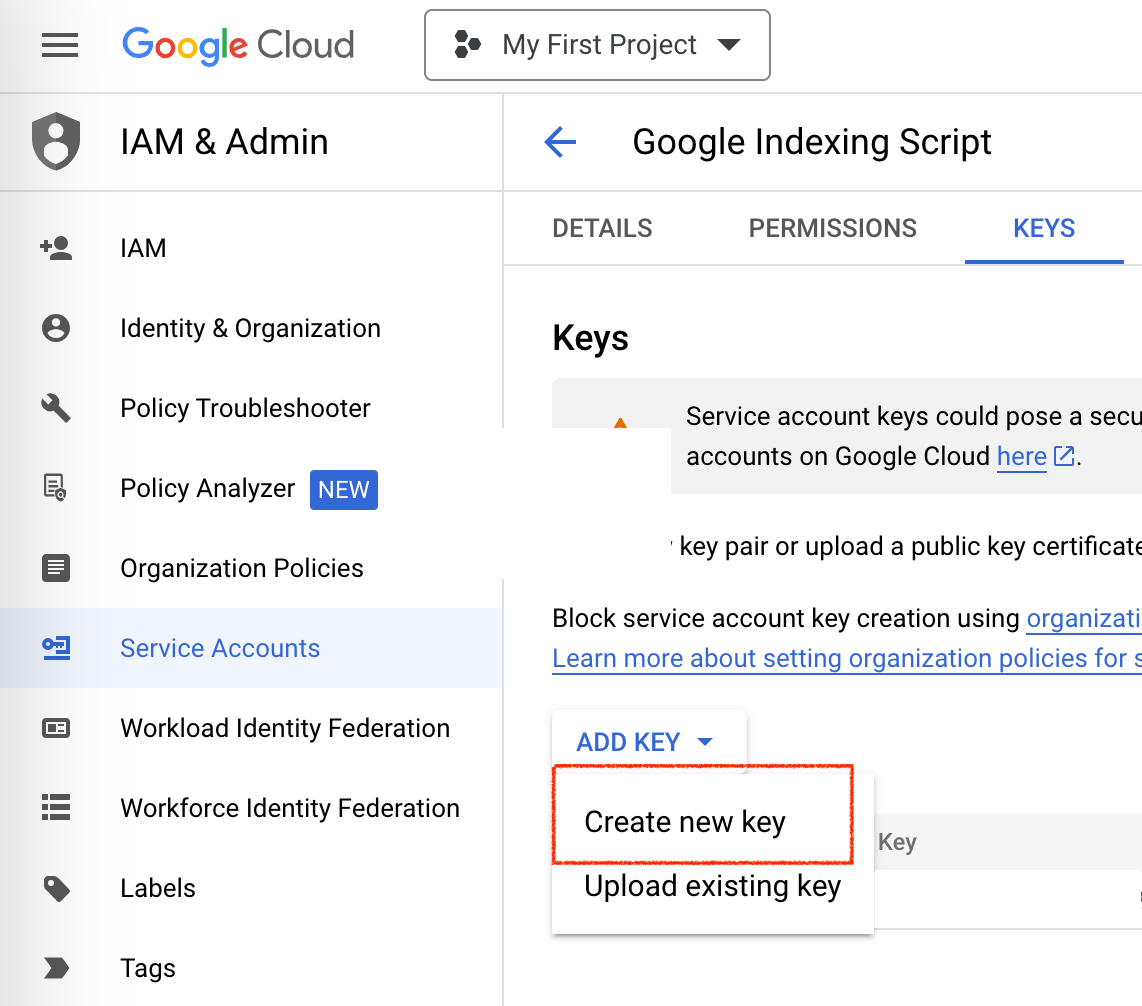
Then click the service account we just created, and go to the Keys panel to create a new key.
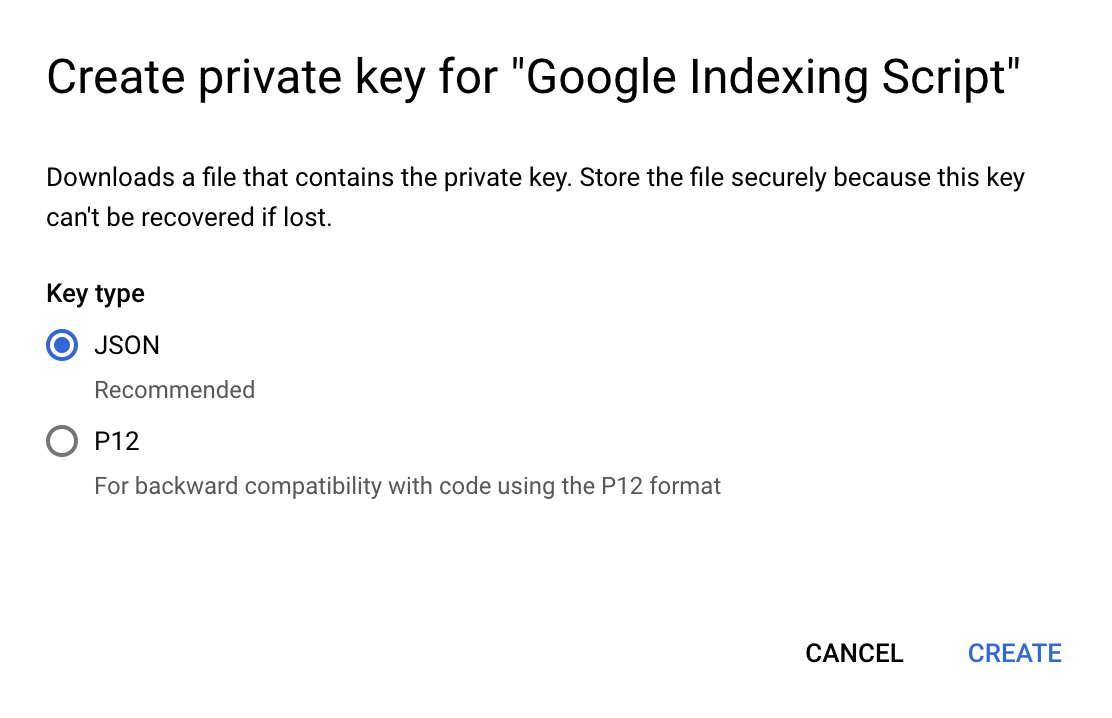
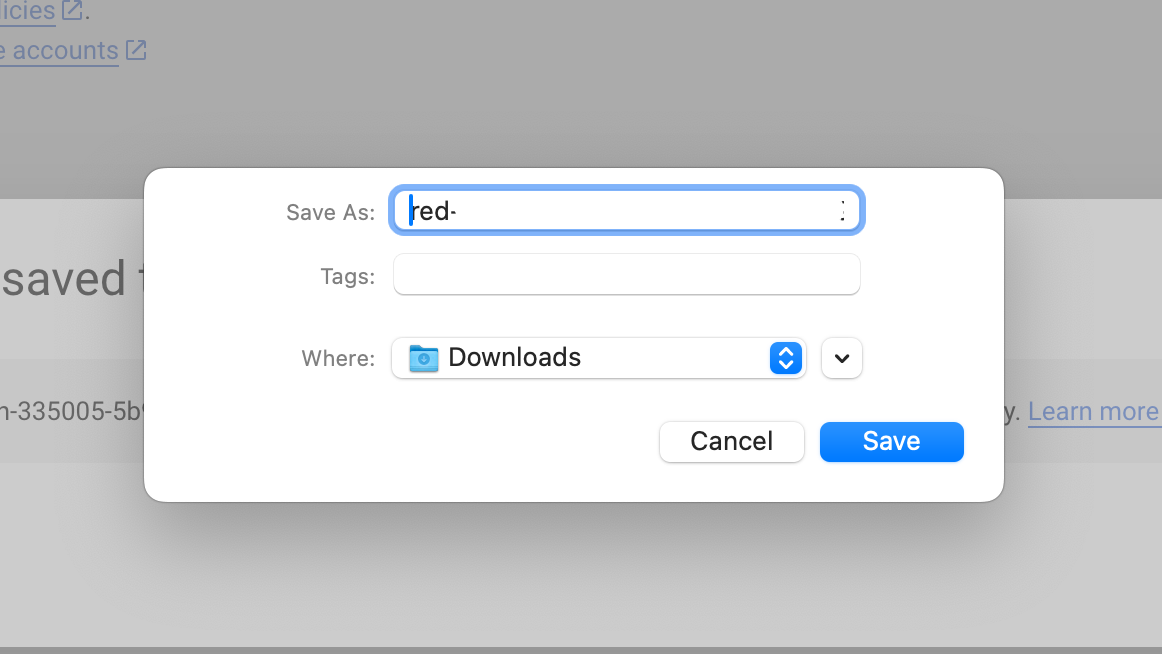
Then a window will pop up and we just download the key we generated; Then, we change its name to service_account.json.
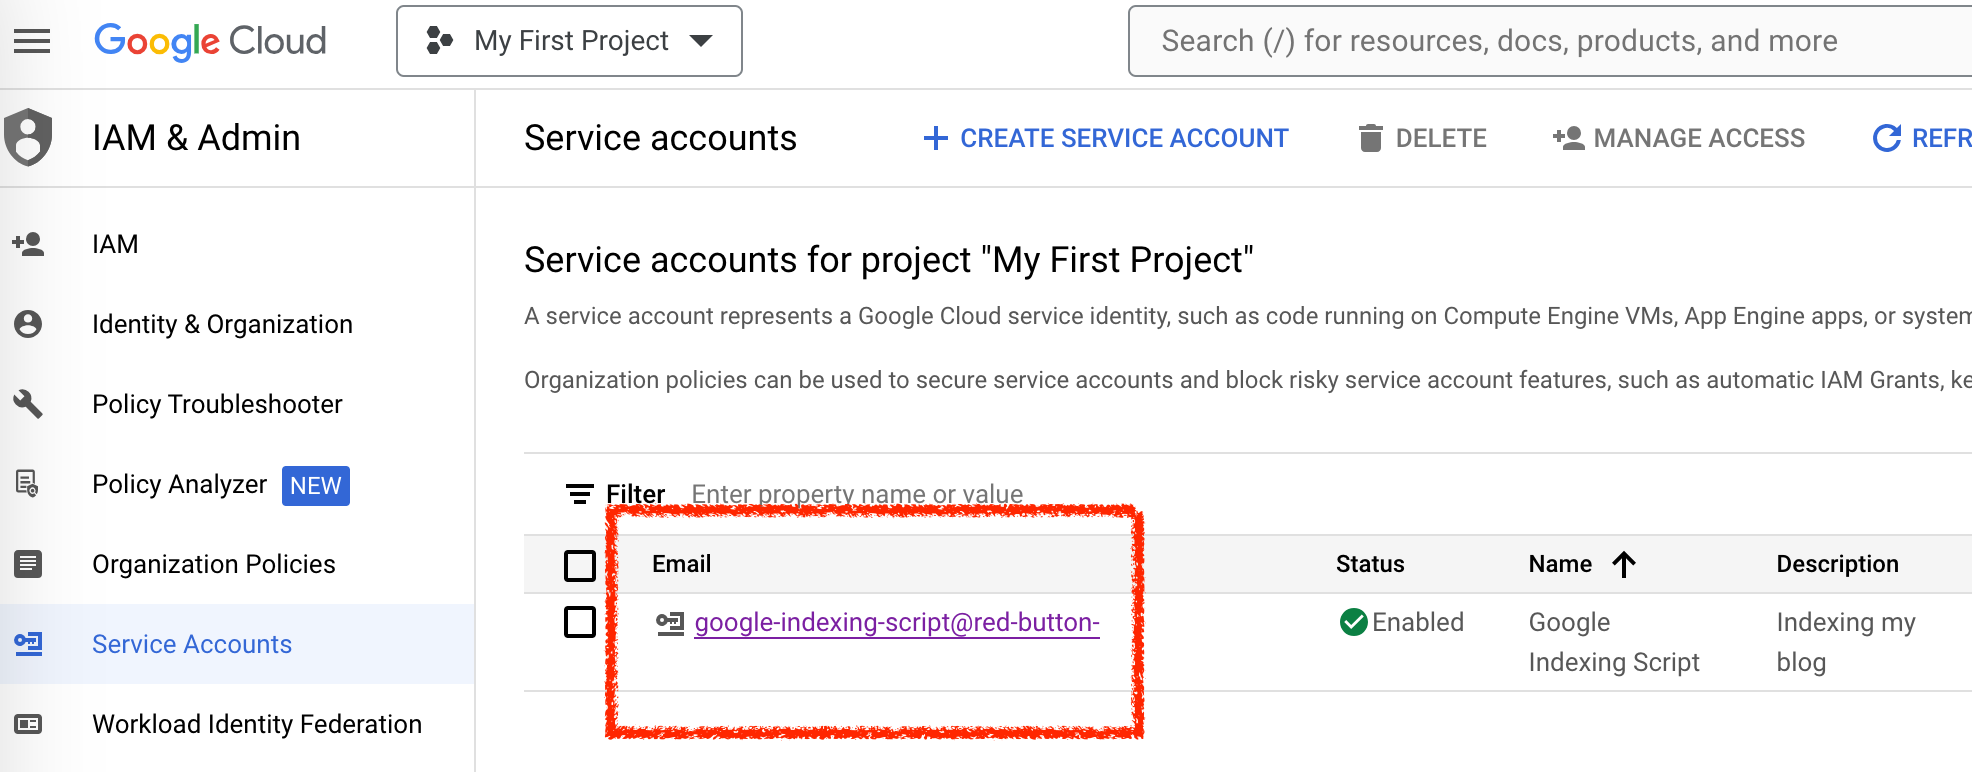
Add your service account to Google console as Owner
Copy our service account email to clipboard, we will use this in a moment.
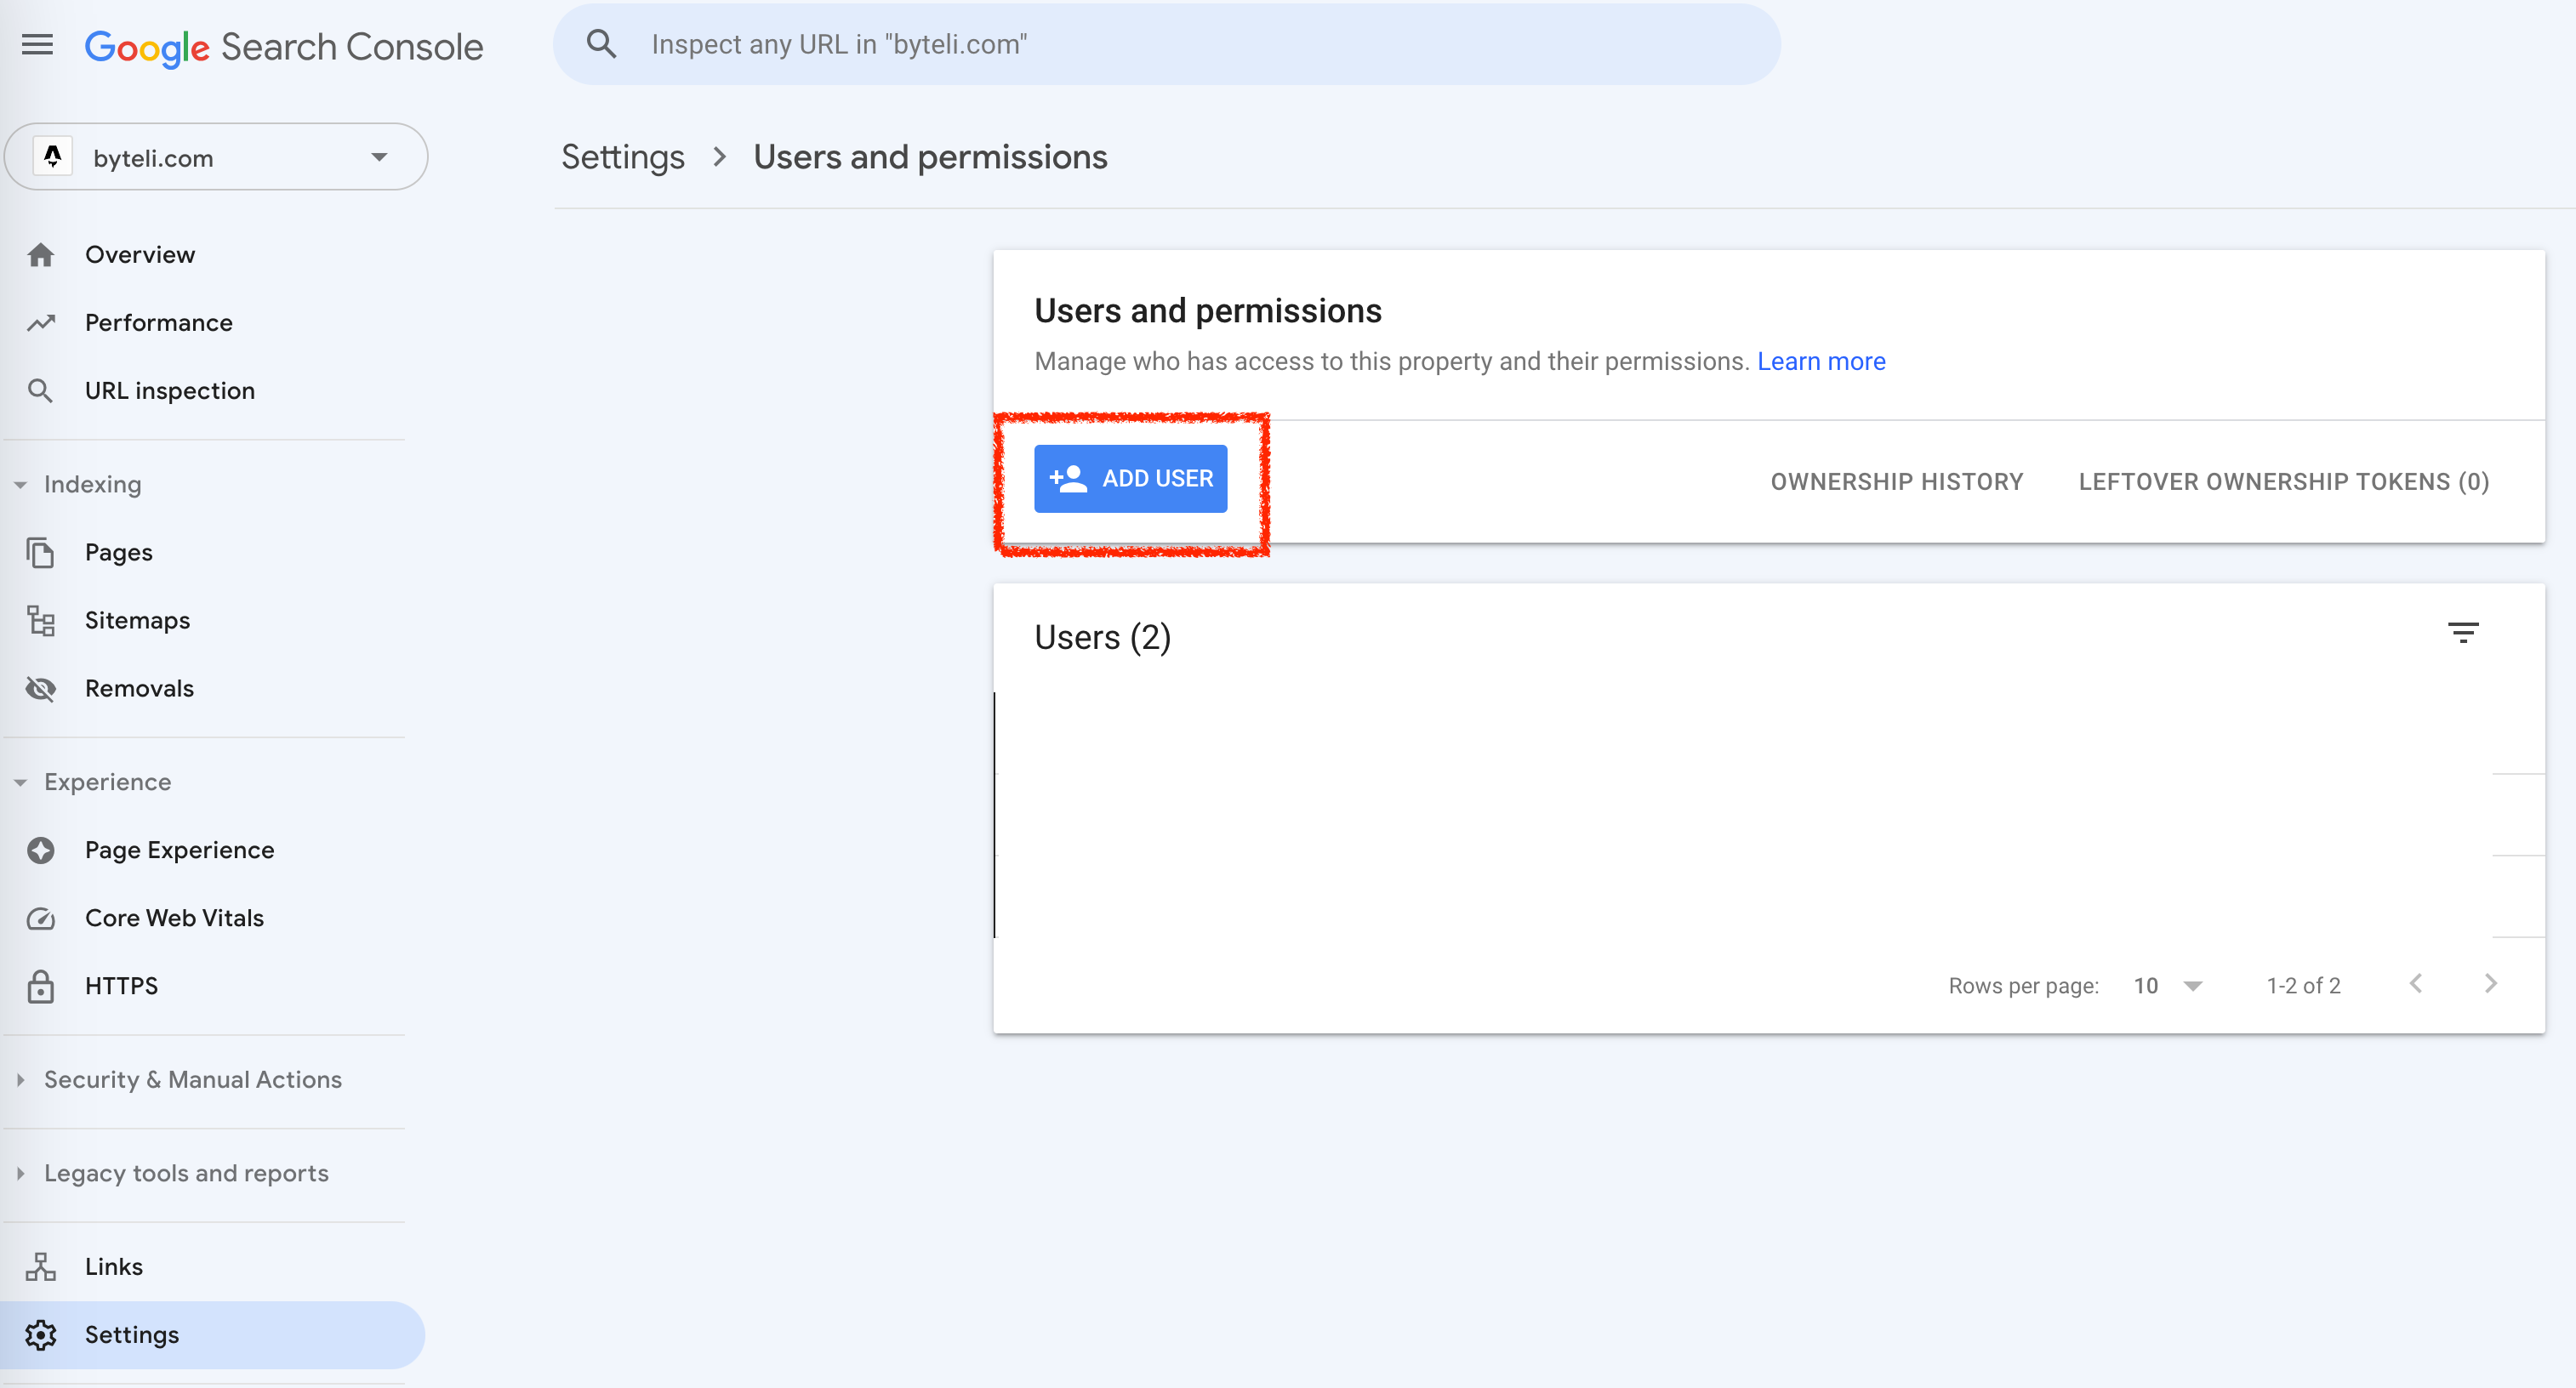
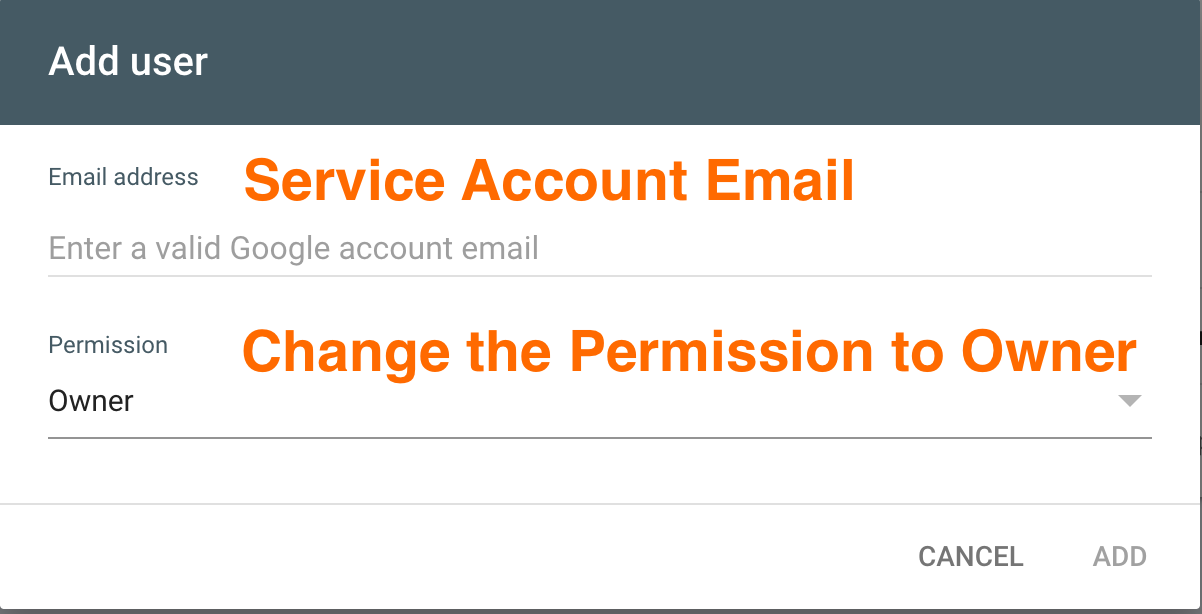
Visit Google Console. In ‘Settings’ panel, click ‘add user’. Then, in the pop-up window, paste our service account email and make sure the permission is set to ‘Owner’
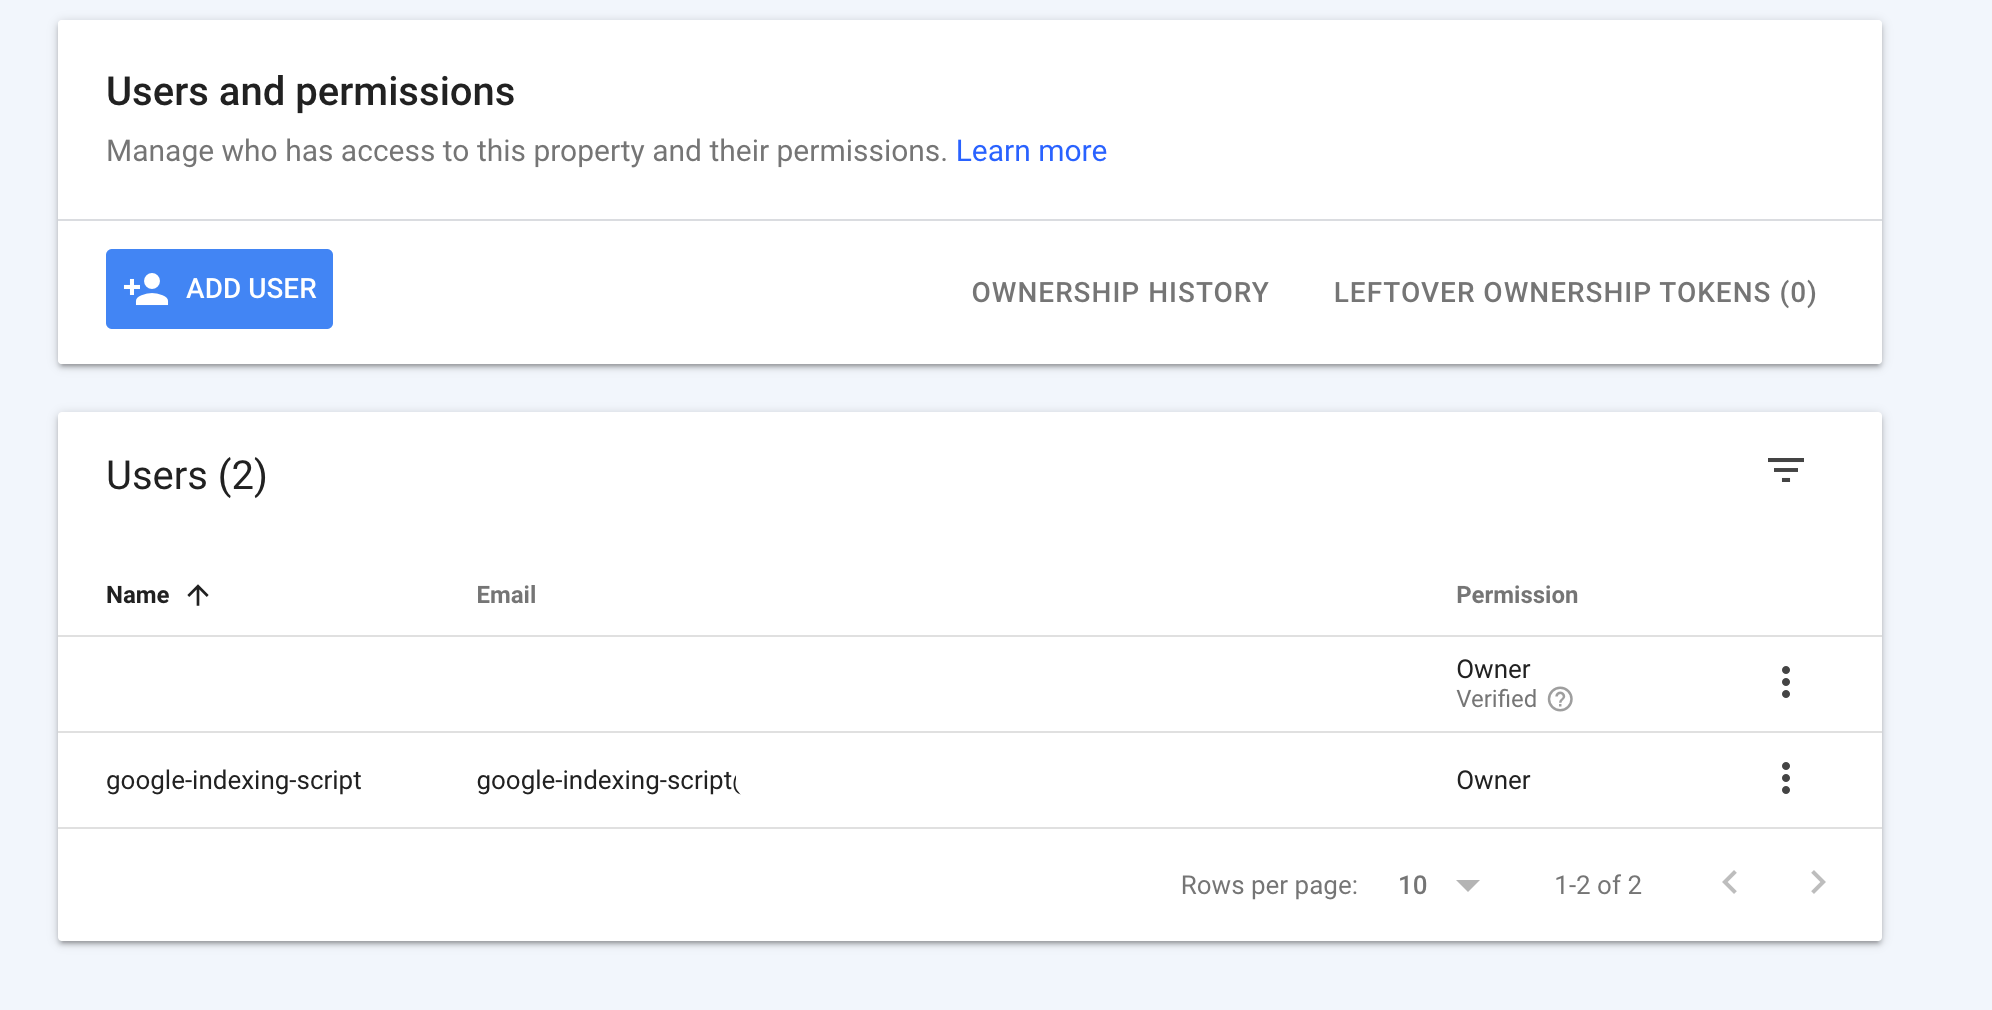
After clicking ‘Add’, you service account should be successfully added to Google Console:
🛠️ Environment Preparation
Node.js
Go to Node.js , download and install the Latest LTS Version of Node.js, it’s 20.11.0 at current time.
Open the terminal of your computer, check whether Node.js has successfully installed
node -v
# 20.11.0
Git
You can check whether you have installed Git by running this command in the terminal
git version
# git version 2.33.0
If you haven’t installed it, you can refer to this guide.
✏️ Script Configuration
This is the last step in our progress.
download the script
use this command to download the script into our local computer:
git clone https://github.com/goenning/google-indexing-script.gitinstall dependencies
Open the folder we just downloaded in an IDE; I personally use ‘WebStorm’. Then, in the terminal, run the following command to install all the necessary dependencies of this script.
npm installset the credentials
Move the service_account.json we downloaded in previous step to the same same folder as the script.
The directory should be the following:
.
├── LICENSE
├── README.md
├── output.png
├── package-lock.json
├── package.json
├── src
├── node_modules
└── service_account.json
Run the Script
In the terminal, run
npm run index yourWebsiteDomain.com
# OR
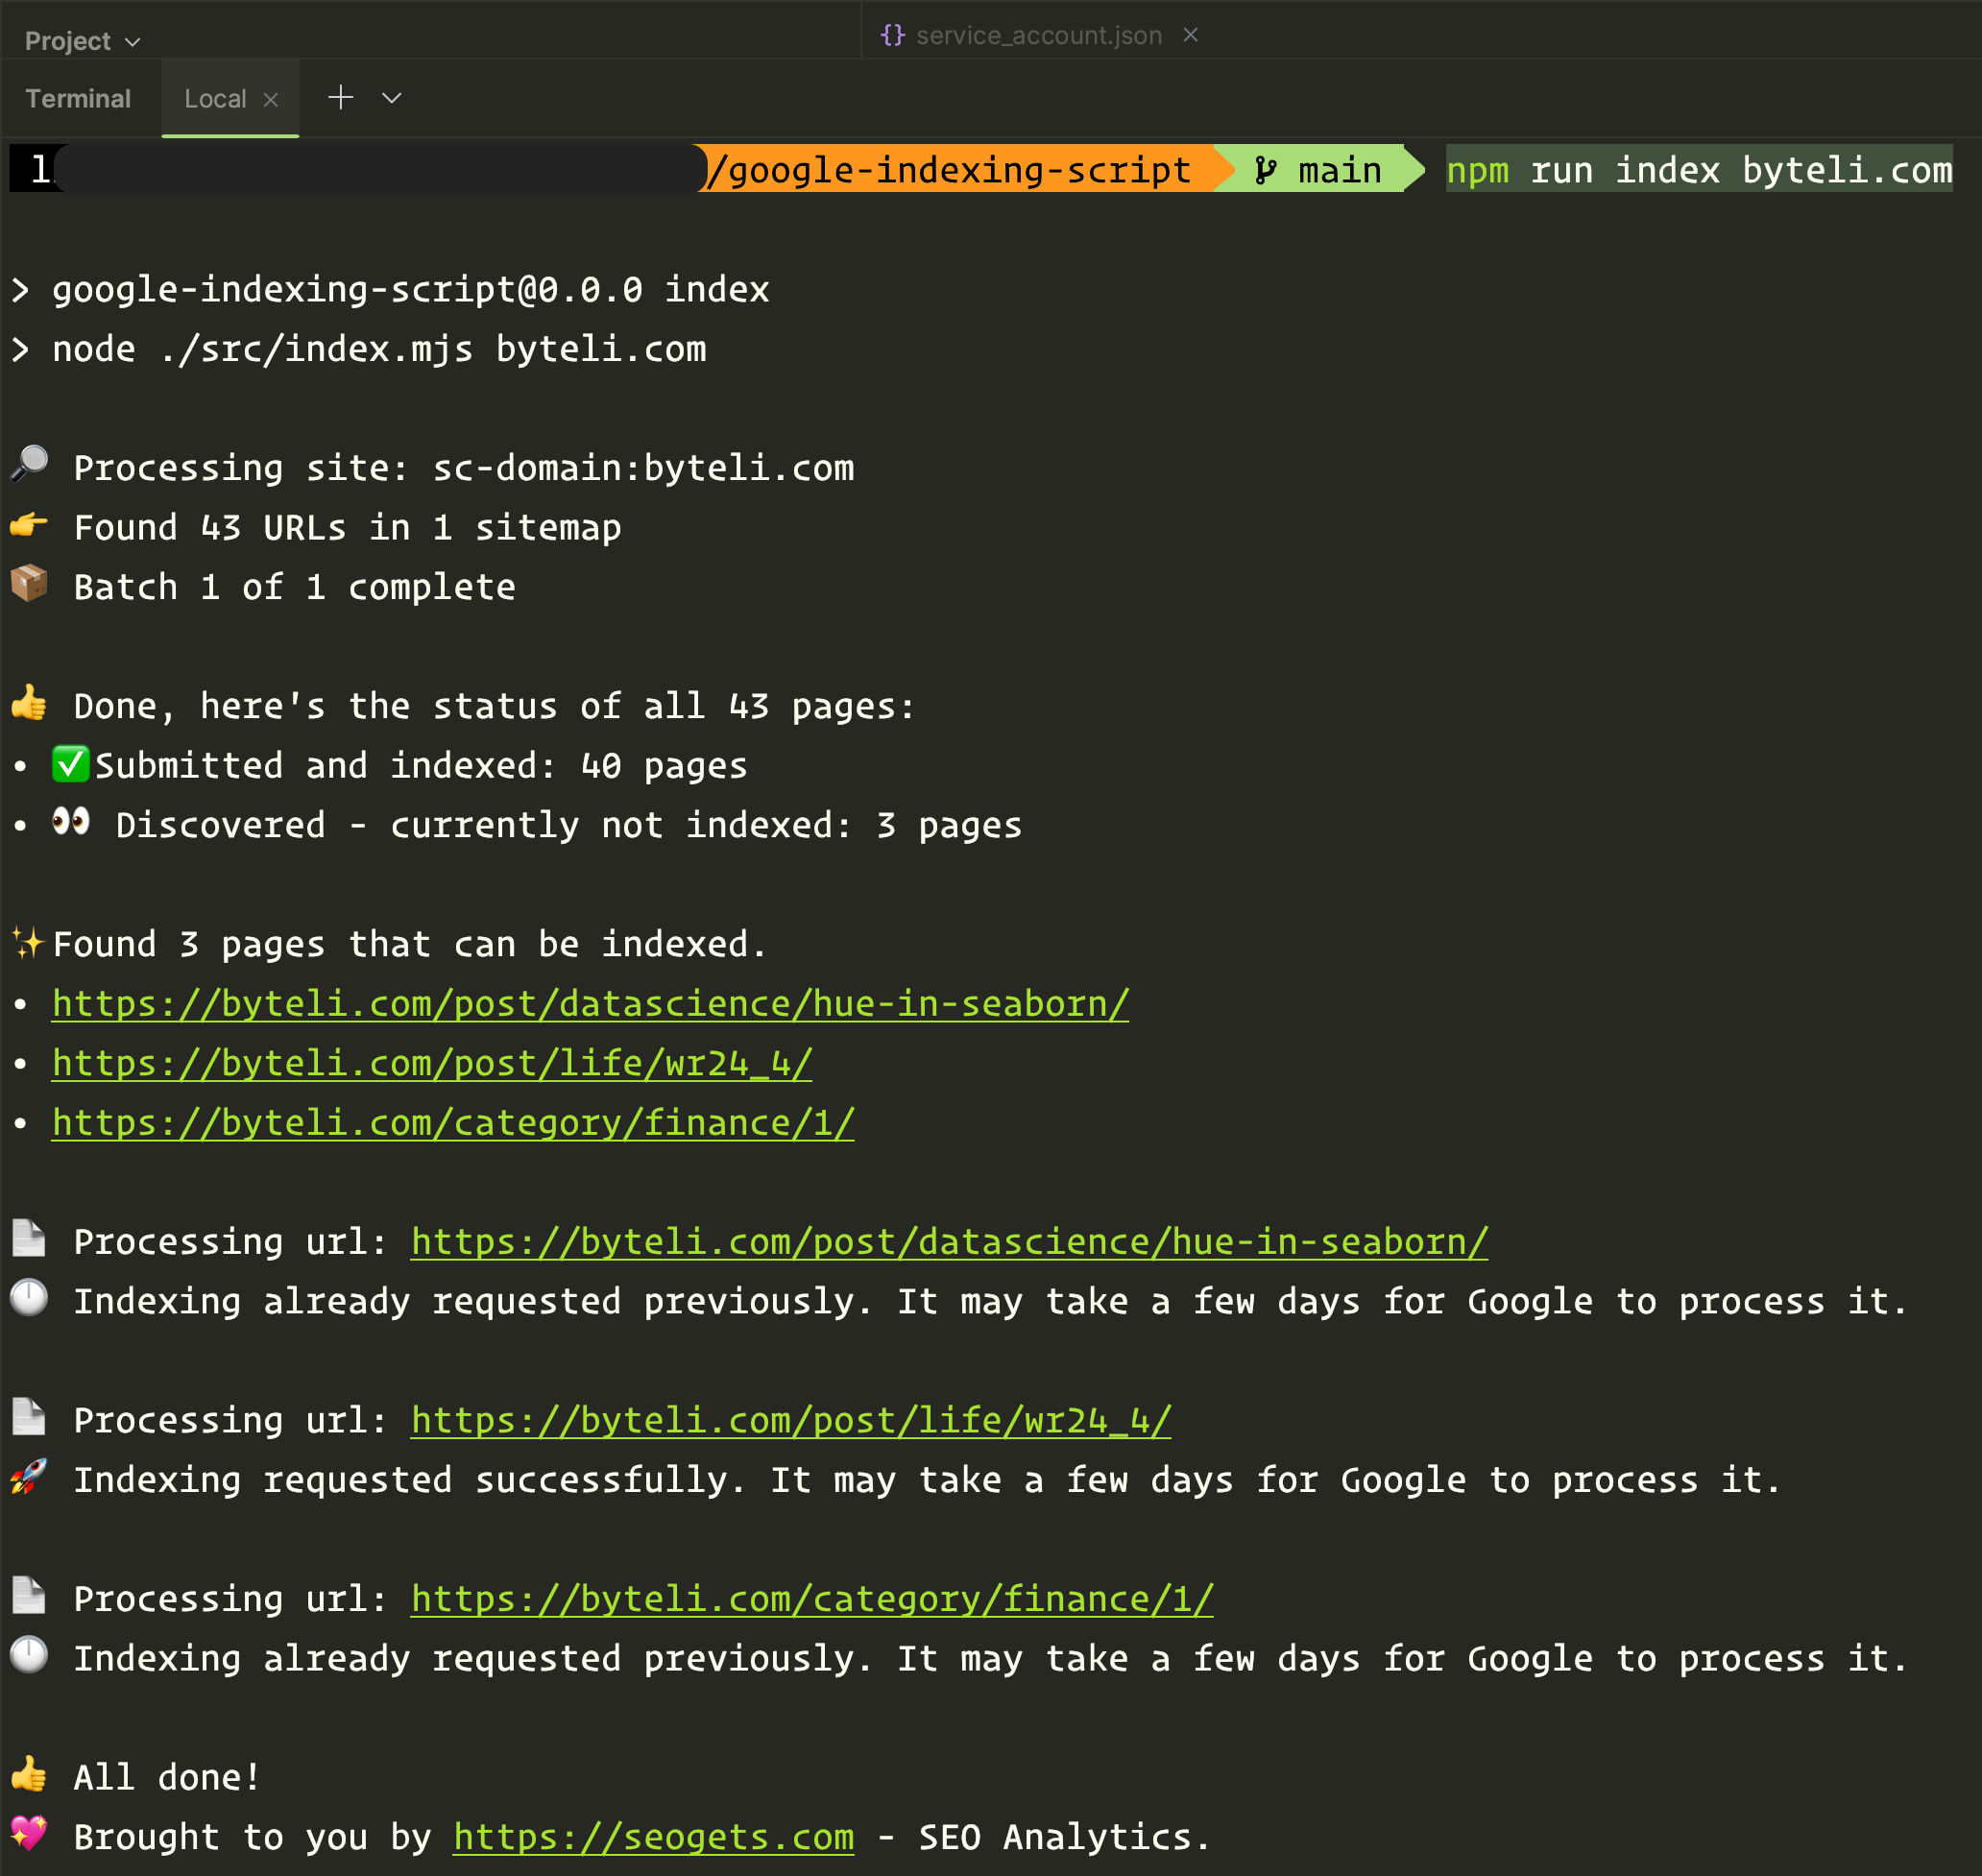
npm run index https://yourWebsiteDomain.comFor instance, since the domain of my blog is ‘byteli’, so I just run
npm run index byteli.comAnd we just submitted the unindexed pages in seconds 🎉
Check the Updates
In one or two days, visit Google Search Console, under ‘Indexing’ - ‘Pages’, you can view the updates of the newly indexed pages.
🎉 Conclusion
In conclusion, overcoming the frustration of delayed Google indexing is a game-changer for any blogger. The journey outlined in this blog, from Google account preparation to environment setup and script configuration, provides a comprehensive guide to tackle the indexing challenge effectively. As you embark on this journey, embrace the power of automation and witness the positive impact on your blog’s discoverability. Happy blogging!